

Looped Scarf Beaded Ends: Project Instructions
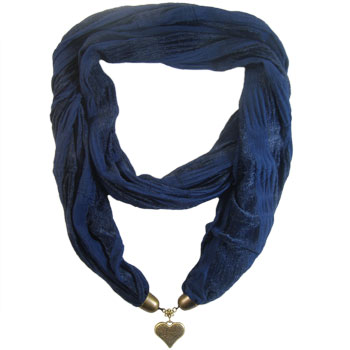
This unique project involves putting beaded ends onto both ends of a single scarf, creating a loop. The scarf can then be wrapped around the neck twice to create a stunning look, and a scarf that won't fall off!
MATERIALS REQUIRED
- 2 large CCB bead caps
- 1 CCB pendant
- 300mm of 20 gauge colored wire
- 3 strong jump rings
- 1 thin scarf
- 1 margarita flower 6-point piece
TOOLS REQUIRED
- Two pairs of crimping pliers
- (or one pair of pliers and a jump ring tool)
- Twirly Wirlies
- Wire Cutters
INSTRUCTIONS
Cut your 20 gauge wire in half so that you have 2 pieces that are 150mm long.
Gather one end of you scarf in an accordion pleat then wrap one of the pieces of wire around the very end of the pleat, leaving a long tail on the wire. Twitch the wire tight and cut off the short end. Thread one large CCB bead cap on the long tail of the wire and bring it up tight so that the twitched wire is covered by the scarf cap. Using your twirly wirly pliers, make a loop on the wire as close to the scarf cap as possible. Cut off the rest of the tail. Repeat on the other end of the scarf.
Using two pairs of pliers (or a jump ring tool and one pair of pliers), open one of the jump rings and connect one of the loops to one of the loops in the margarita flower piece. Repeat on the other side, leaving a loop and joining into the third loop in the margarita flower piece. Open another jump ring and connect the CCB pendant to the bottom loop in the margarita flower (see the second image for a close up of this).
Your scarf is now ready to wear.
© www.eurekabeads.com.au These free beading instructions may be used for personal use only [EX30641 EX99682]
Recent Posts
-

Simple Wooden Necklace: Project Instructions
Using large lightweight wooden beads, this versatile necklace can be worn long, eliminating the need …16th Dec 2025 -

Angel Earrings: Project Instructions
Create a sweet pair of handmade earrings featuring glass flower beads and angel wings. This beginner …19th Sep 2025 -

Midnight Shine Hematine & Crystal Bracelet Tutorial
Looking for a quick, elegant bracelet project using two-hole beads and silk thread? This step-by-ste …1st Jul 2025